

Focusrite Audio Engineering
This applies to all USB Interfaces
This article contains a step-by-step guide on installing the necessary USB driver for Scarlett, Clarett USB and iTrack interfaces on Windows 7, 8 and 10.
If you've registered your product then you'll see any necessary driver/control software listed below your product in the "My Hardware" section of your account. Regardless of whether you have registered, you can follow the below steps instead if you wish to:
Step 1: Go to http://focusrite.com/downloads
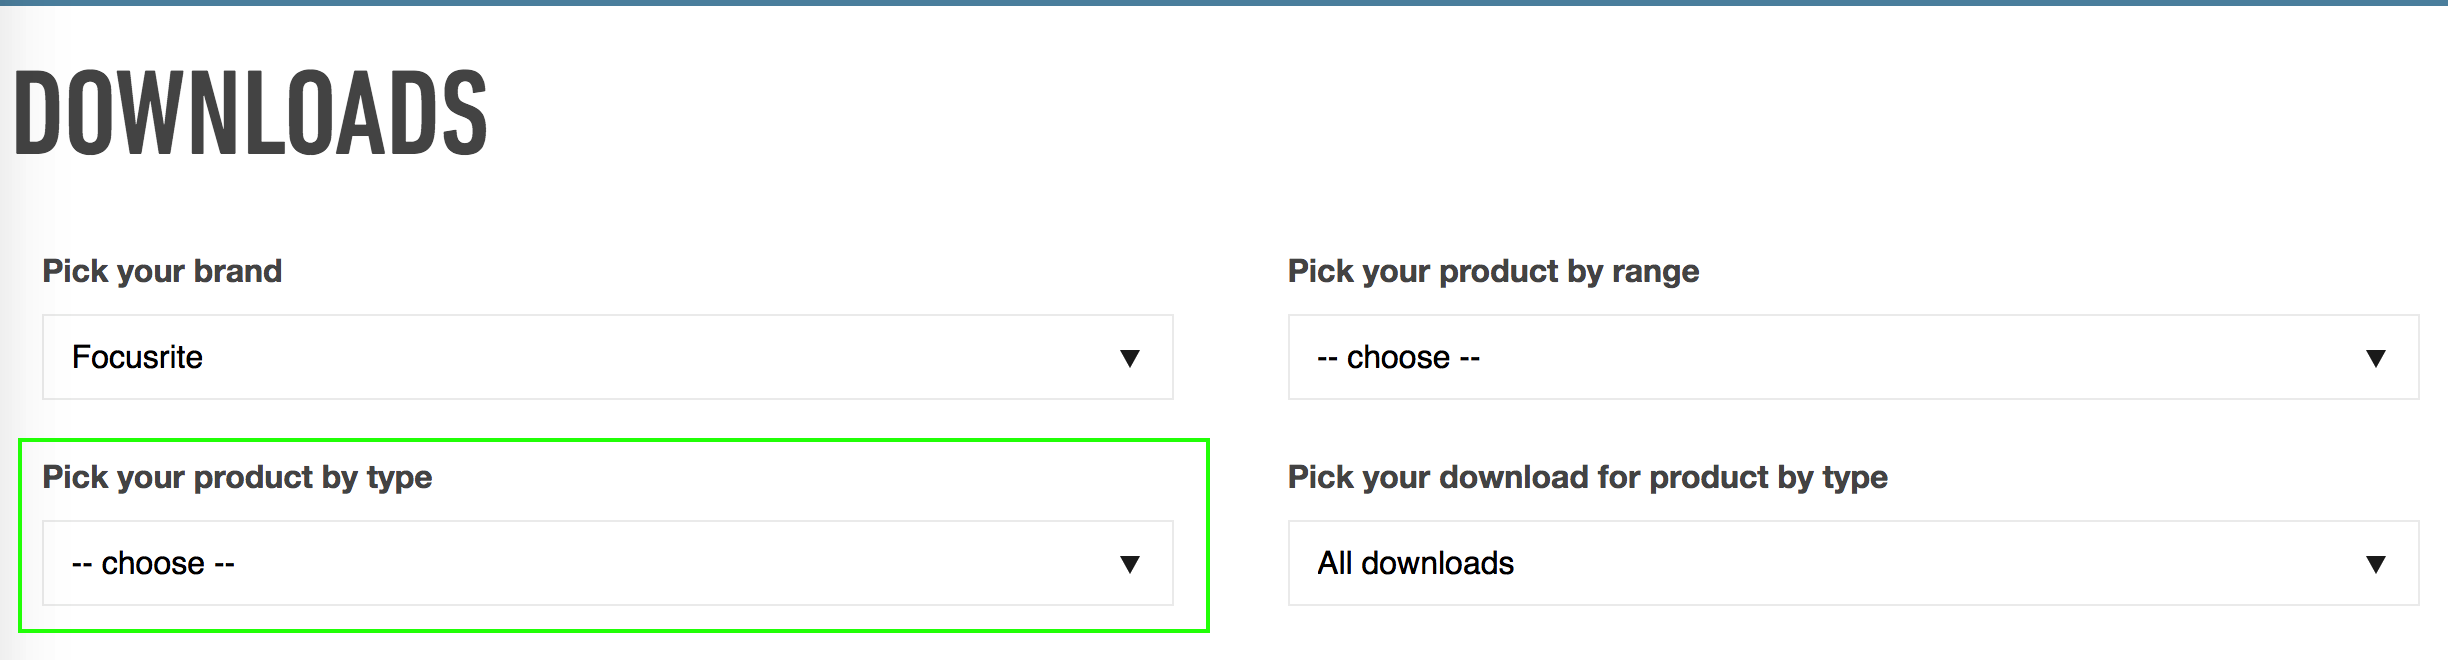
Step 2: Select your product from the dropdown menu.
Step 3:
- If you have a Scarlett Solo/2i2/2i4 1st Gen & 2nd Gen or an iTrack Solo, download the latest version of the driver. You don't need to download any other control software.
- For all other interface models download the appropriate control software. 1st Gen Scarlett 6i6/8i6/18i6/18i8/18i20 use Scarlett Mix Control, all other models use Focusrite Control. The driver will be installed along with this control software.
Step 4: Once the download has completed, navigate to your computer’s Downloads folder. Double-click the .exe file to begin the installation.
Step 5: Follow the on-screen instructions. You may be asked to restart the computer at the end of the installer.
Step 6: Once the installation has fully completed, connect your interface. Windows may display the message 'Installing device driver software'. This message simply means that Windows is assigning the driver to the interface, nothing additional is actually being installed.
Step 7: Wait a few moments and then check that the USB LED on the front of the interface is turned on. If it isn’t, try a different USB port.
Your interface is now ready to use! If you're using recording software then make sure you select the Focusrite ASIO driver in the audio settings page for that software.
If you encounter any problems please contact Technical Support

0 thoughts to “Focusrite scarlett 2i2 drivers windows 10 download”